It’s getting close to law school finals time (OK, well finals time is here but I’m lucky enough that my exams and papers are nicely spaced out). I took the time this week, though, to try a couple of new baking recipes for a clothing swap party with some friends, and for an end-of-semester party for my favorite seminar. I’ve done many swap parties with friends from home, but this was my first in New York. My friend Jewish Girl was kind enough to host and provide tasty dessert wine (well – tasty once we managed to remove the far-too-durable wax seal on top) and these adorable cupcakes decorated to look like meatballs and spaghetti:

You should read here about her adventures making them!
I brought Bourbon Balls. I kind of cheated and got a 1960s Kentucky Cookbook out of the university library, and I just could not resist when I found these boozy little bonbons in there…Seriously. They’re really boozy. This recipe is a Southern classic and they apparently do NOT kid around down there when it comes to bourbon…

In addition to these, I whipped up some key lime bars from Martha Stewart’s Cookie Cookbook, so I’d have plenty of sweets for my seminar. I love Martha: it gets me every time that this cookbook’s table of contents is a) pictorial, b) organized by texture (i.e., one page for “Cakey,” another for “Crumbly,” etc.). This book was published only 2 years ago, but I think it’s a total classic. It’s also got a lot of great takes on classic recipes – like these bars:

Finally, before I get down to recipes…I have to give a shout-out to my dad, who is directly responsible (via my Chanukah present – a gorgeous new Olympus EP-2) for the vastly improved photo quality on this blog. Thanks, Dad! And Happy Chanukah! And one last picture just for good measure…

Key Lime Bars (Makes about 16)
1 c. finely ground graham cracker crumbs
2 1/2 tbsp. finely ground graham cracker crumbs
1/3 c. sugar
5 tbsp. unsalted butter, melted
3 large egg yolks
1 1/2 tsp. finely grated lime zest
2/3 c. fresh Key lime juice, (about 23 Key limes total)
1 c. sweetened condensed milk (14 ounces)
For garnish:
1/4 c. heavy cream
2 Key limes, thinly sliced into half-moons
1. Make crust: Preheat oven to 350 degrees. Stir together graham cracker crumbs, sugar, and butter in a small bowl. Press evenly onto bottom of an 8-inch square glass baking dish. Bake until dry and golden brown, about 10 minutes. Let cool completely on a wire rack. (Leave oven on.)
2. Make filling: Put egg yolks and lime zest in the bowl of an electric mixer fitted with the whisk attachment. Mix on high speed until very thick, about 5 minutes. Reduce speed to medium. Add condensed milk in a slow, steady stream, mixing constantly. Raise speed to high; mix until thick, about 3 minutes. Reduce speed to low. Add lime juice; mix until just combined.
3. Spread filling evenly over crust using a spatula. Bake, rotating dish halfway through, until filling is just set, about 10 minutes. Let cool completely on a wire rack. Refrigerate at least 4 hours (or overnight).
4. Cut into 2-by-2-inch bars. Put cream in the clean bowl of an electric mixer fitted with the clean whisk attachment. Mix on medium-high speed until stiff peaks form. Garnish bars with whipped cream and a slice of lime. Ungarnished bars can be refrigerated in an airtight container up to 3 days.
Read more at Marthastewart.com: Key Lime Bars – Martha Stewart Recipes
Bourbon Balls (Makes about 24)
1 c. ground Nilla wafers or graham crackers
1 c. ground pecans
2 tbsp. cocoa powder
2 tbsp. light corn syrup
1/4 c. bourbon
1/2 c. powdered sugar, dusting
This one is super easy – you don’t even need to bake anything!
Mix all the ingredients together and form into balls 3/4 to 1 inch in diameter. Roll the balls in powdered sugar, place on a baking sheet covered in wax paper, and refrigerate for at least an hour. Enjoy!
I picked some asparagus the other day and started casting about in assorted books for a fun new way to cook them. I wasn’t having much luck (I was too lazy to make a Hollandaise sauce, as most books suggested), but I stumbled across this in Apicius: “Asparagos siccabis, rursum in calidam summitas: callosiores reddes.” (Book III.iii) This translates, essentially, to: “Peel off the woody parts, dry the asparagus, put them upright in boiling water.”
I eventually wound up broiling my asparagus with a sprinkling of olive oil and za’atar, but I found this Apicius tip particularly interesting. Obviously people have known for a long time that cooking asparagus upright gets the bottom nice and tender and keeps the tops from overcooking (cook them for 6-8 minutes, by the way, until tender when tested with a fork). This is what I love about these old books: sometimes you rediscover old tricks, and sometimes you find that some bit of cooking lore you take for granted has been around for several millenia. Now we just have special steamers to do the trick.
I love mussels – they’re a great quick dinner, especially since most supermarkets now carry well-cleaned and de-bearded shellfish. My old books tell you to clean mussels for ages, but these days Whole Foods usually does it for you. All you have to do is toss those babies in a pot and steam them for ten minutes. Almost every one of my “big books” (the doorstops: Gourmet, Mrs. Beeton, the Gold Cook Book) had a recipe for Moules Mariniere , but I was looking for something different…and I found Mussels Apicella in Gourmet. I’ve tried without luck to figure out by Googling what “Apicella” refers to – let me know if you turn anything up!

Mussels Apicella (Serves 2)
2 lbs. mussels, cleaned
2 whole cloves garlic
2 tbsp. olive oil
1 tsp. crushed red pepper
1/2 tsp. salt
1/2 c. water
6 sprigs parsley, plus some leaves for serving
1. Toss the raw mussels in oil with the garlic, sprigs of parsley, salt, and red pepper. Place over medium flame, add water, and steam for 10 minutes – until the mussels open of their own accord.
2. Sprinkle with reserved raw parsley and serve with bread to mop up mussel juices. So easy!
Note on mussels (and shellfish in general): I hate to break it to you, but mussels are alive when you buy them – or they should be. If a few haven’t opened when the others have, don’t try to open them: it usually means they were DOA and are not safe to eat.
And now to the real classics. We’re still using a newfangled vodka pie crust here, but the fillings? Totally old school: apple pie and chess pie. Before we get on to the pies themselves, I think I’d better address some crust questions raised in the comments on Part 2. Namely: can one use liquors other than vodka in a crust?
This brings up some really 21st-century cooking science issues. The reason this crust uses vodka is not to use flavor – quite the opposite, since the alcohol totally cooks off and vodka is pretty flavorless otherwise – but to create texture. Very often when one works a pie crust by hand, the butter starts to soften and glutens form and toughen up the crust. We love gluten formation in bread and flour, but when this occurs in pie-baking we call the crust “overworked.” And not Blue Ribbon-worthy. Alcohol inhibits gluten formation, so vodka adds moisture to the crust while keeping it nice and flaky. Just a warning while we’re on the topic: this dough is a little softer than most when you’re rolling it out, so be very gentle.
Theoretically, any spirit with the same alcohol content as vodka (80 proof, or 40%) should have the same effect. Other alcohols will, however, add different flavors, and higher sugar contents might have interesting outcomes. My grandmother always used orange juice as the liquid for her pie crusts. The flavor doesn’t come through strongly but adds a tiny bit of acid; perhaps a citrus flavored vodka could yield similar results, along with maximum flakiness? Worth a try, for sure!
If this was too much food science you can take a break here before moving on…
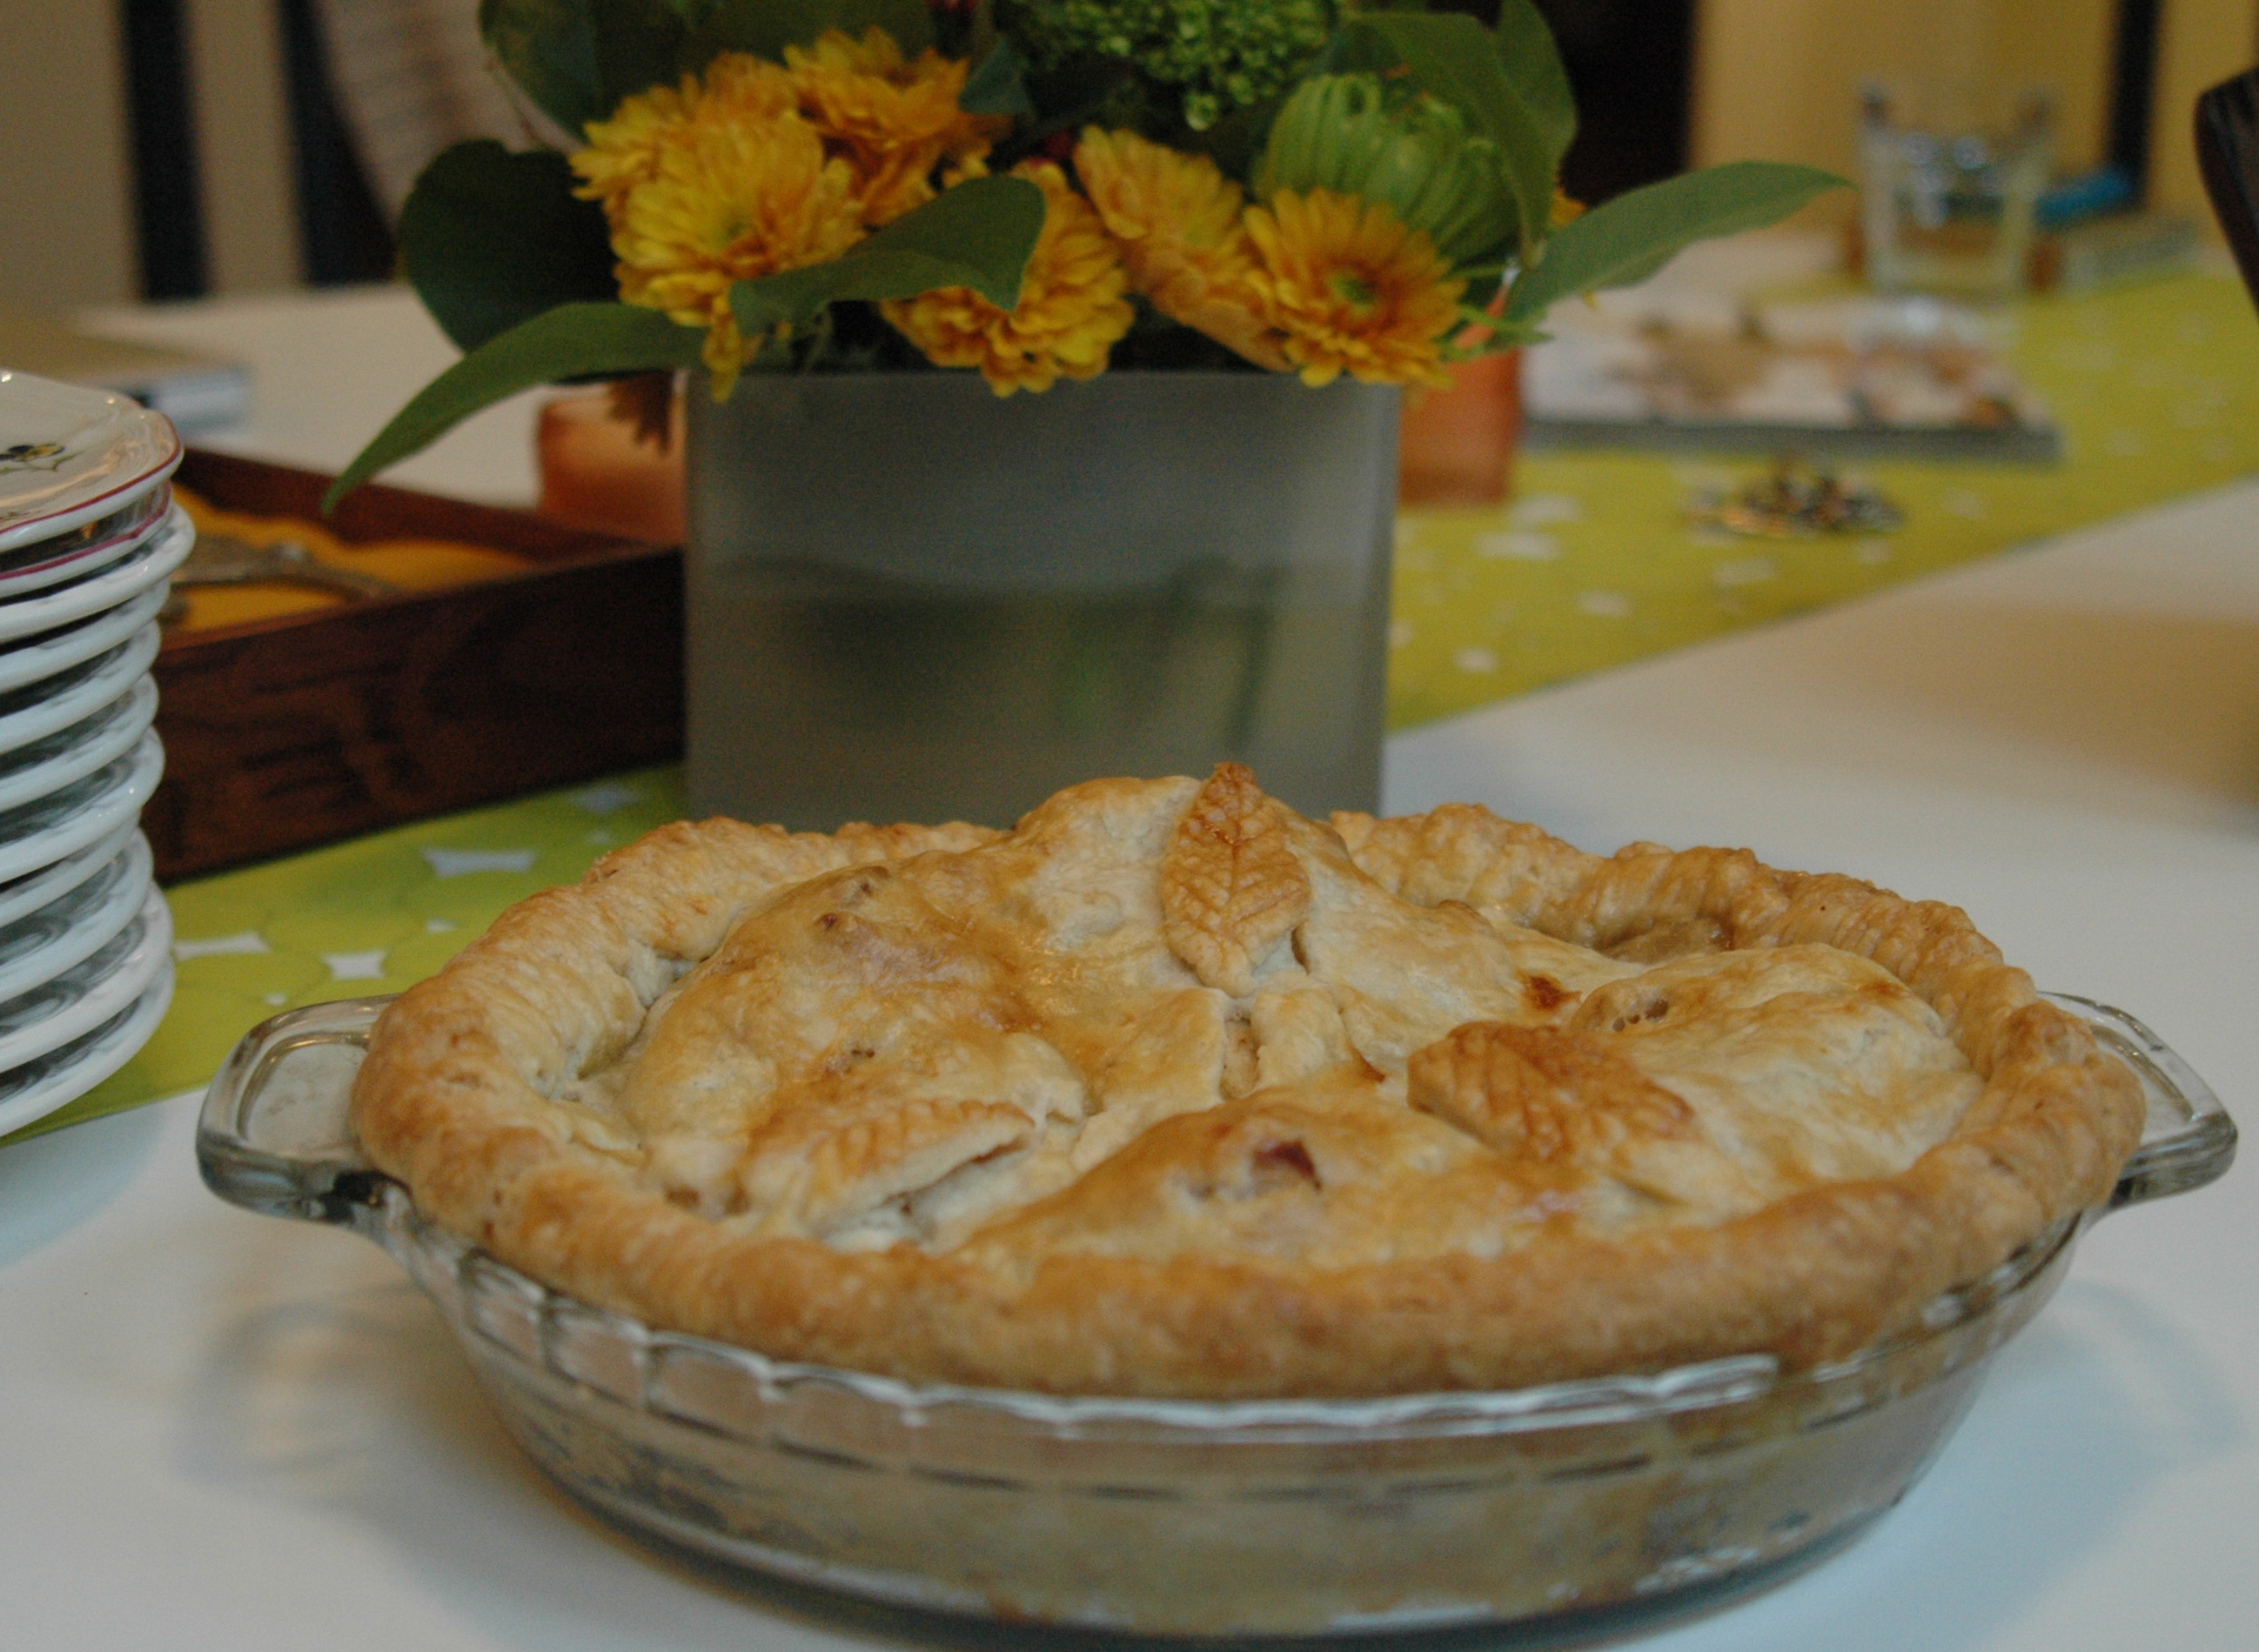
Now back to old school pies. I made my apple pie the only way I know how: apples, sugar, lemon, and spices. Tiny bit of flour to absorb a little juice…and go! Over the years, I (along with generations of cooks) have tweaked and experimented with this basic formula. In this particular pie I used brown sugar, to give a little more fall flavor. I also used Granny Smith apples only, since that’s what my dad picked up from the supermarket. Tart, firm Granny Smiths make a great pie, but usually I mix my apples – for example, throwing in a few mealier Macintoshes or Macouns for a bit of sweetness. This one-apple pie, however, came out great. I’ve started thinking over the years that apple pie recipes are actually complete bunk. There is no single great apple pie recipe, since apples themselves are such a huge part of a great pie and they can never really be standardized. The key is to learn to taste for texture, sugar, and acid and work with your apples as you go.
If that’s too much pressure you can start with another classic: chess pie. This pie is from the days when fruit wasn’t shipped around the country on demand – it’s made entirely out of pantry staples. The recipe I tried (out of my Southern Cook Book of course) came out a little weird – the middle didn’t set the way chess pie is supposed to, and it wound up being kind of like butterscotch goo with a bruleed sugar topping. That, however, did not stop it from being the first of the three Friday night pies to be devoured. I think I’ll try it again soon, and perhaps add more eggs to keep things together. The lack of setting might also have been due to the exigencies of Thanksgiving baking – the oven was still hotter than it probably should have been from cooking several pies and pans of root vegetables at close to broiling. I’ll report back on any experiments. In the meantime, here are some pictures and recipes…
Apple pie! I should give a nod to my dad for all these pie pics – his DSLR is responsible for the higher-than-usual quality of the photos on this blog.

All the pies together! (From front: apple, chess, pumpkin) Sadly the tart was already gone and could not join the family photo.

Apple Pie (Makes one 9″ pie)
One recipe Vodka Pie Crust
4 lbs. apples (6-7 medium)
3/4 to 1 c. light brown sugar
1 1/2 tbsp. lemon juice
1 tsp. lemon zest
1/4 tsp. nutmeg
1/4 tsp. cinnamon
1/8 tsp. ground cloves
2 tbsp. flour
1 egg, beaten lightly
1. Preheat oven to 425 degrees. Roll one dough disk on a lightly floured surface into a 12-inch circle and place in pie plate.
2. Gently press dough into sides of pan leaving portion that overhangs lip of pie plate in place. Refrigerate while preparing fruit.
3. Peel, core, and cut apples into 1/2-to-3/4-inch slices and toss with sugar, lemon juice, spices and zest. Turn fruit mixture, including juices, into chilled pie shell and mound slightly in center. Roll out other dough round and place over filling. Trim top and bottom edges to 1/2 inch beyond pan lip. Tuck this rim of dough underneath itself so that folded edge is flush with pan lip. Flute edging or press with fork tines to seal. Cut four slits at right angles on dough top. Brush egg onto top of crust.
4. Bake until top crust is golden, about 25 minutes. Reduce oven temperature to 375 degrees; continue baking until juices bubble and crust is deep golden brown, 30 to 35 minutes longer. Transfer pie to wire rack; cool to almost room temperature, at least 4 hours.
Chess Pie (Makes one 9″ pie)
1/2 recipe Vodka Pie Crust
1/2 c. butter, melted
1 1/2 c. sugar
3 eggs
1 tsp. vanilla
pinch salt
1 tbsp. vinegar
1. Preheat oven to 325 degrees. Roll dough disk on a lightly floured surface into a 12-inch circle and place in pie plate.
2. Mix butter and sugar and simmer slowly, stirring, for 5 minutes. Remove from heat and let cool slightly, stirring constantly. Add eggs, one at a time, beating well. Add vanilla, salt and vinegar; mix well.
3. Pour filling into pie shell and bake for 30-35 minutes. Shake pie gently. It is done when the center quivers slightly.


